
Preparing Your Windows for Professional Tinting: A Redwood City Homeowner’s Checklist
Professional window tinting is one of the most effective ways to improve comfort, privacy, and energy efficiency in your home. While the installation process is handled by experienced technicians, a little preparation on your part can make a noticeable difference in the overall results.
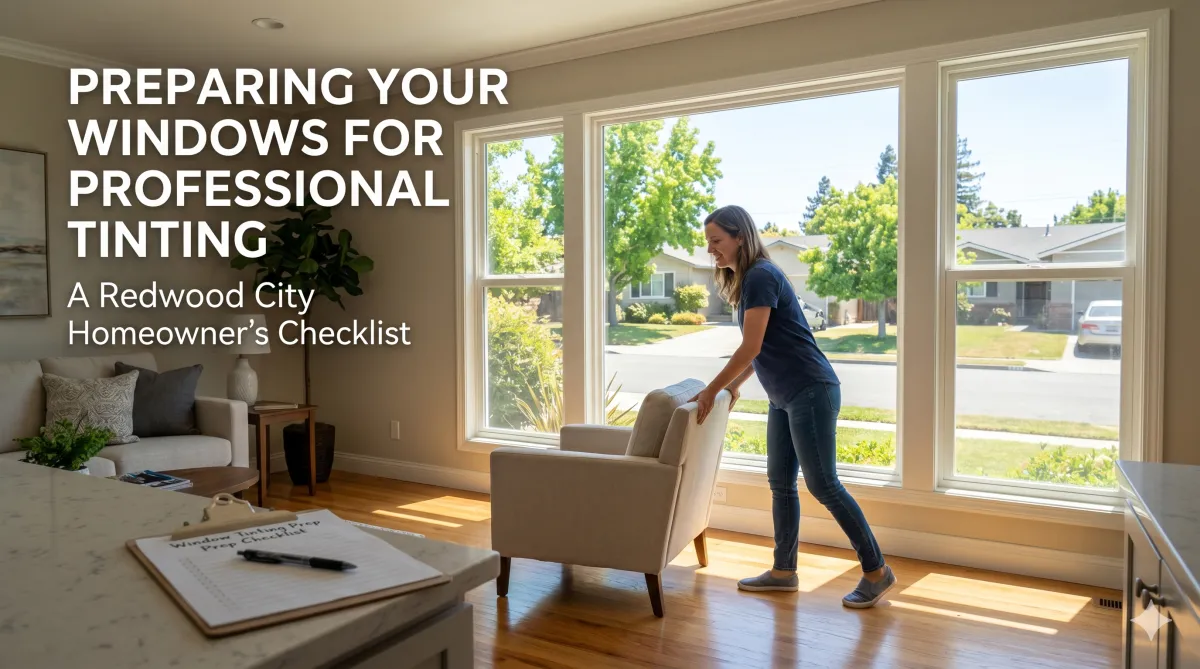
In Redwood City homes, where large windows and strong sunlight are common, proper preparation ensures a smoother installation, faster completion, and a flawless finish.
This simple checklist will help you get your home ready for installation day.
Clear the Window Areas Inside Your Home
Before installation begins, it’s important to create a clean and open workspace around all windows being tinted.
Take time to remove:
Furniture near windows
Decorative items or wall hangings
Plants, electronics, or fragile objects
This allows installers to move freely and apply the film without obstruction. A clear workspace also helps ensure precise, uninterrupted application.
Clean the Surrounding Space (Not the Glass Itself)
Many homeowners assume they need to clean the windows beforehand, but this is not necessary. Professional installers will thoroughly clean the glass before applying the film.
Your focus should instead be on:
Dusting nearby surfaces
Vacuuming or sweeping floors near windows
Removing debris from window sills
This helps prevent dust from interfering during installation and keeps the process efficient.
Ensure Easy Access to All Windows
To avoid delays on installation day, make sure technicians can easily access all areas of your home.
This may include:
Unlocking gates or side entrances
Clearing pathways indoors and outdoors
Moving obstacles that may block window access
For multi-story homes, ensure interior access is safe and straightforward for upper-level windows as well.
Secure Pets and Minimize Disruptions
Pets are an important part of the home, but they should be kept away from installation areas during the process.
For safety and efficiency:
Keep pets in a separate room
Use crates or temporary containment if needed
Inform installers in advance if pets are present
This prevents distractions and ensures both your pets and the installation team remain safe throughout the project.
Plan for Proper Indoor Conditions
While window tinting can be installed in most home environments, ideal conditions help ensure optimal results.
Try to maintain:
Moderate indoor temperatures
Normal airflow without excessive dust movement
Avoid extreme humidity when possible
Stable conditions support proper adhesion and help the film perform as intended during curing.
What to Expect on Installation Day
A professional window tint installation is typically efficient and minimally disruptive.
Here’s what the process generally looks like:
Arrival and setup by technicians
Careful cleaning and preparation of glass surfaces
Precise application of window film
Final inspection and cleanup
Most installations are completed within a single day, depending on the size of the project.
A Little Preparation Goes a Long Way
Preparing your home for window tinting doesn’t require major effort but it does make a meaningful difference. A clear workspace, secure environment, and proper expectations all contribute to a smoother installation experience.
By following this simple checklist, Redwood City homeowners can ensure their window tinting project is completed efficiently and delivers clean, professional, long-lasting results.
If you’re ready to upgrade your home with professional window tinting, a little preparation today leads to years of improved comfort, privacy, and performance.
